
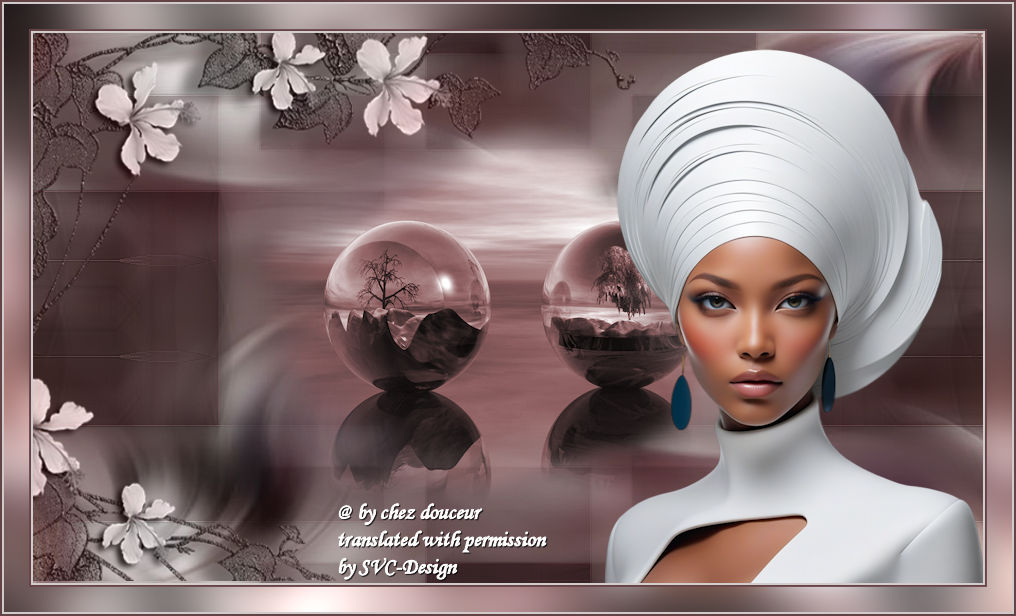
This lesson is made with PSPX9
But is good with other versions.
© by SvC-Design

Materialen Download :
Here
******************************************************************
Materials:
deco1.png
Devilsinside_67_2009.png
FOND.jpg
ornament.png
******************************************************************
Plugin:
Effecten – plugin – unlimited 2.0 - Toadies - What are you
Effects – plugin - Graphis plus - Cross Shadow
******************************************************************
color palette
:

******************************************************************
methode
When using other tubes and colors, the mixing mode and / or layer coverage may differ
******************************************************************
General Preparations:
First install your filters for your PSP!
Masks: Save to your mask folder in PSP, unless noted otherwise
Texture & Pattern: Save to your Texture Folder in PSP
Selections: Save to your folder Selections in PSP
Open your tubes in PSP
******************************************************************
We will start - Have fun!
Remember to save your work on a regular basis
******************************************************************
Foreground: #D4CECE
Background: #664647
And white color # FFFFFF
1.
Open a new transparent image of 950/550px
2.
Selection - Select All
Open FOND.jpg
3.
Edit - Copy
Edit - Paste into selection
Selection - Select None
4.
Open deco1.png
Edit – Copy
Edit - Paste as new layer
Do not move it
5.
Effects - Edge Effects - Enhance
6.
Selection - Select None
7.
Open Devilsinside_67_2009.png
Edit – Copy
Edit - Paste as new layer
8.
Image - Resize - 50%
No check mark on resize all layers
9.
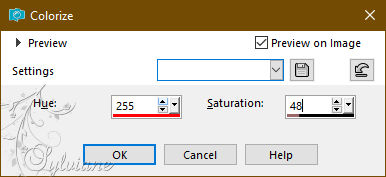
Adjust – hue and saturation – colorize
11.
Put these values in Adjustment/Tint and Saturation/And coloring the tube
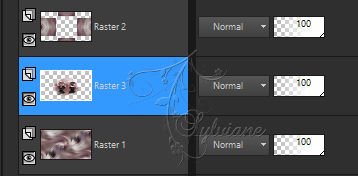
12.
Layers – arrange – move down
13.
Activate selection tool (Press K on your keyboard)
And enter the following parameters:
Pos X : 208 – Pos Y : 75
Press M.
14.
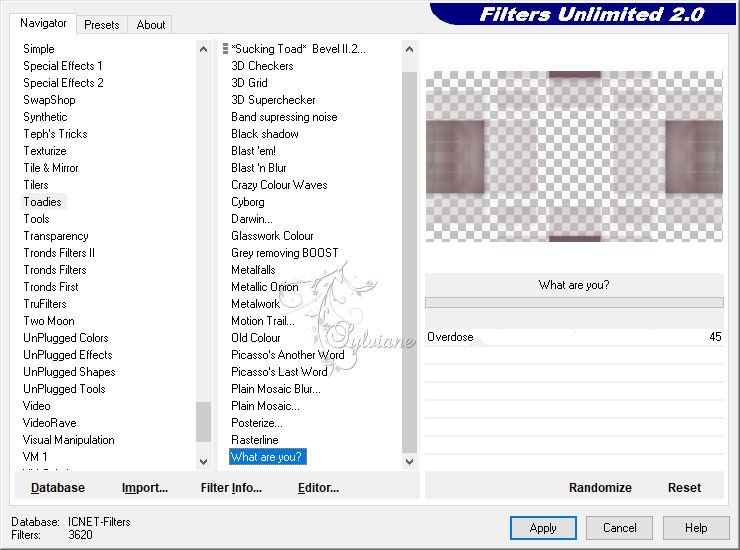
Activte Raster2
Effecten – plugin – unlimited 2.0 - Toadies - What are you
15.
Blend Mode: Multiply
(If you use light/duplicate/Punish with the Layer underneath)
16.
Adjust – scharpness – scharpen
17.
Open ornament.png
Edit – Copy
Edit - Paste as new layer
18.
Activate selection tool (Press K on your keyboard)
And enter the following parameters:
Pos X : 0 – Pos Y : -2
Press M.
19.
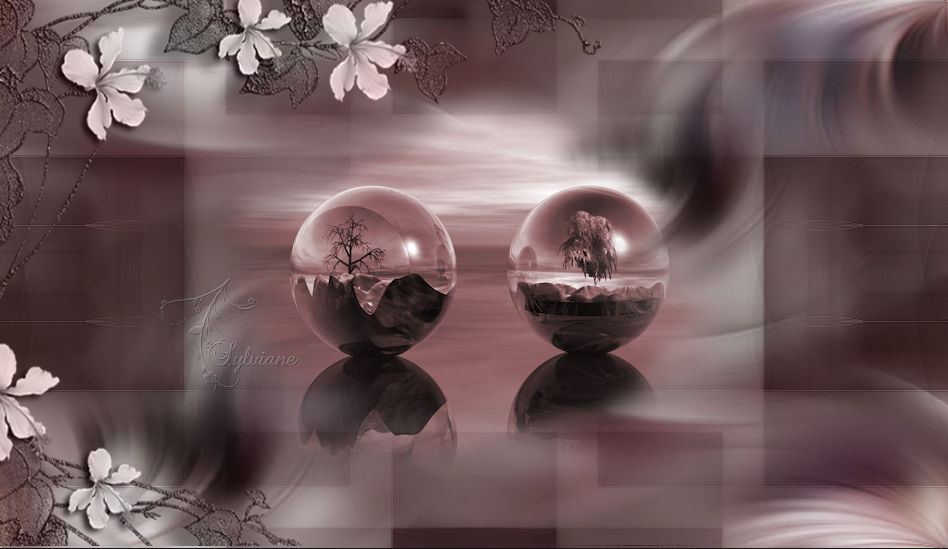
Here's your tag:
20.
Open your tube Woman:
21
Edit – Copy
Edit - Paste as new layer
22.
Activate selection tool (Press K on your keyboard)
And enter the following parameters:
Pos X : 590 – Pos Y : 10
Press M.
23.
Image - Add Borders – Symmetric – 2px – light color
24.
Image - Add Borders – Symmetric -2px - dark colour
25.
Image - Add Borders – Symmetric -25px - White Color
26.
With your magic wand
Select this border
27.
Open FOND.jpg
Edit - Copy
Edit - Paste into selection
28.
Adjust - blur - gaussian blur
Range: 20
29.
Effects – plugin - Graphis plus - Cross Shadow - default
30.
Selection - Select None
31.
Image - Add Borders – Symmetric – 2px – light color
32.
Image - Add Borders – Symmetric -2px - dark colour
33.
put your watermark
Layers - merge - merge all (flatten)
34.
Save as jpeg
Back
Copyright Translation 2023 by SvC-Design
------------------------------------------------------------------------------
Thanks to all who created